Jan 12, 2014

Ubuntu Lesson 05 - Set VPN Network

How to setup VPN network in Ubuntu, it's really easy. After setup, following commands can be used to activate/deactivate VPN connection:
nmcli con up id Test #up VPN connection of id=Test (i.e. name=Test)
nmcli con down id Test

Reference of nmcli - command-line tool for controlling NetworkManager
To avoid input the password each time, you can do the command: 
  • sudo gedit /etc/NetworkManager/system-connections/Lab1
[connection]
id=Test
uuid=4f433af4-3f36-427b-8f68-897a70f02818
type=vpn
autoconnect=false
timestamp=1389523495
[vpn]
service-type=org.freedesktop.NetworkManager.pptp
gateway=10.10.10.10
user=xxx
password-flags=1
[ipv4]
method=auto
And modify the config file: add [vpn-secrets]
password-flags=0 
[vpn-secrets] 
password=xxxxx
Now, You can run nmcli con up id Test without input password.

Following pictures show how to add a new VPN connection (id = Test as shown in the above example).
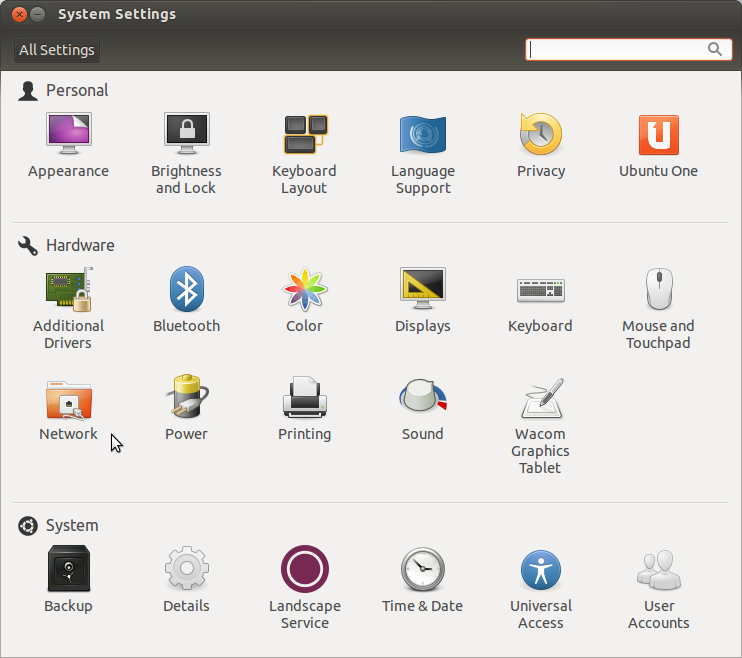
System Settings > Network

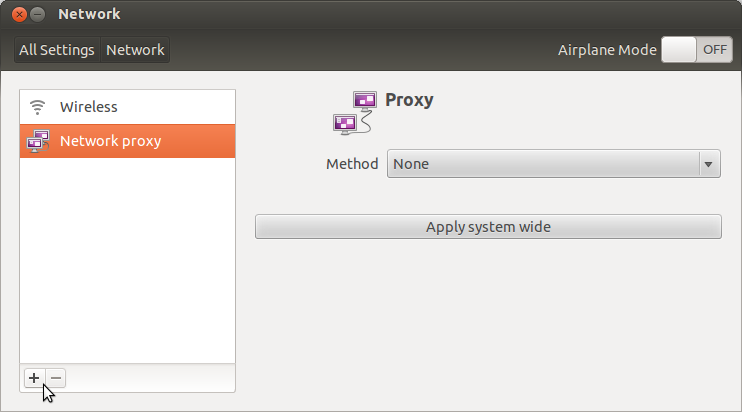
Press "+" to add new network connection

Select "VPN"

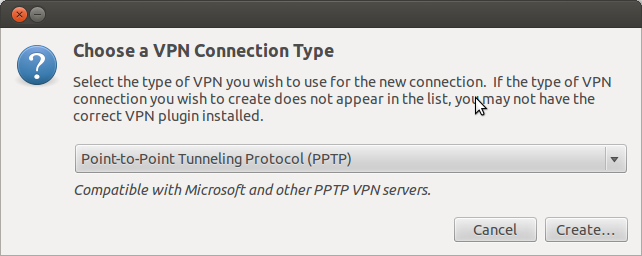
Default setting is PPTP, use this.

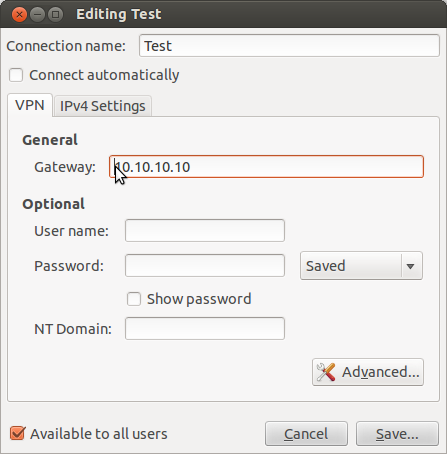
Input: VPN name, IP address (the VPN server), user account, password

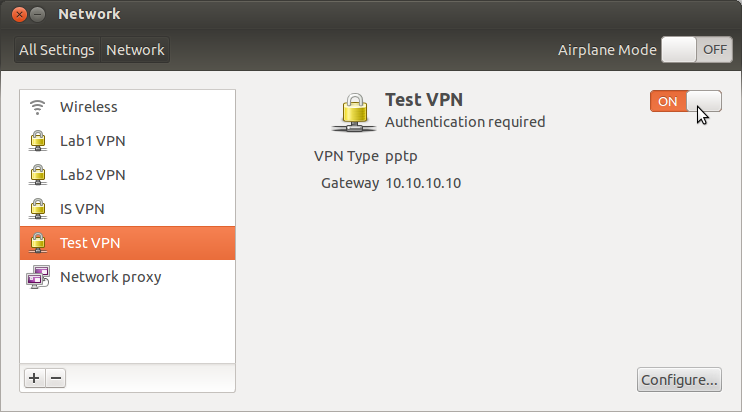
To connect with VPN, just press and set to "ON".

No comments :

Post a Comment